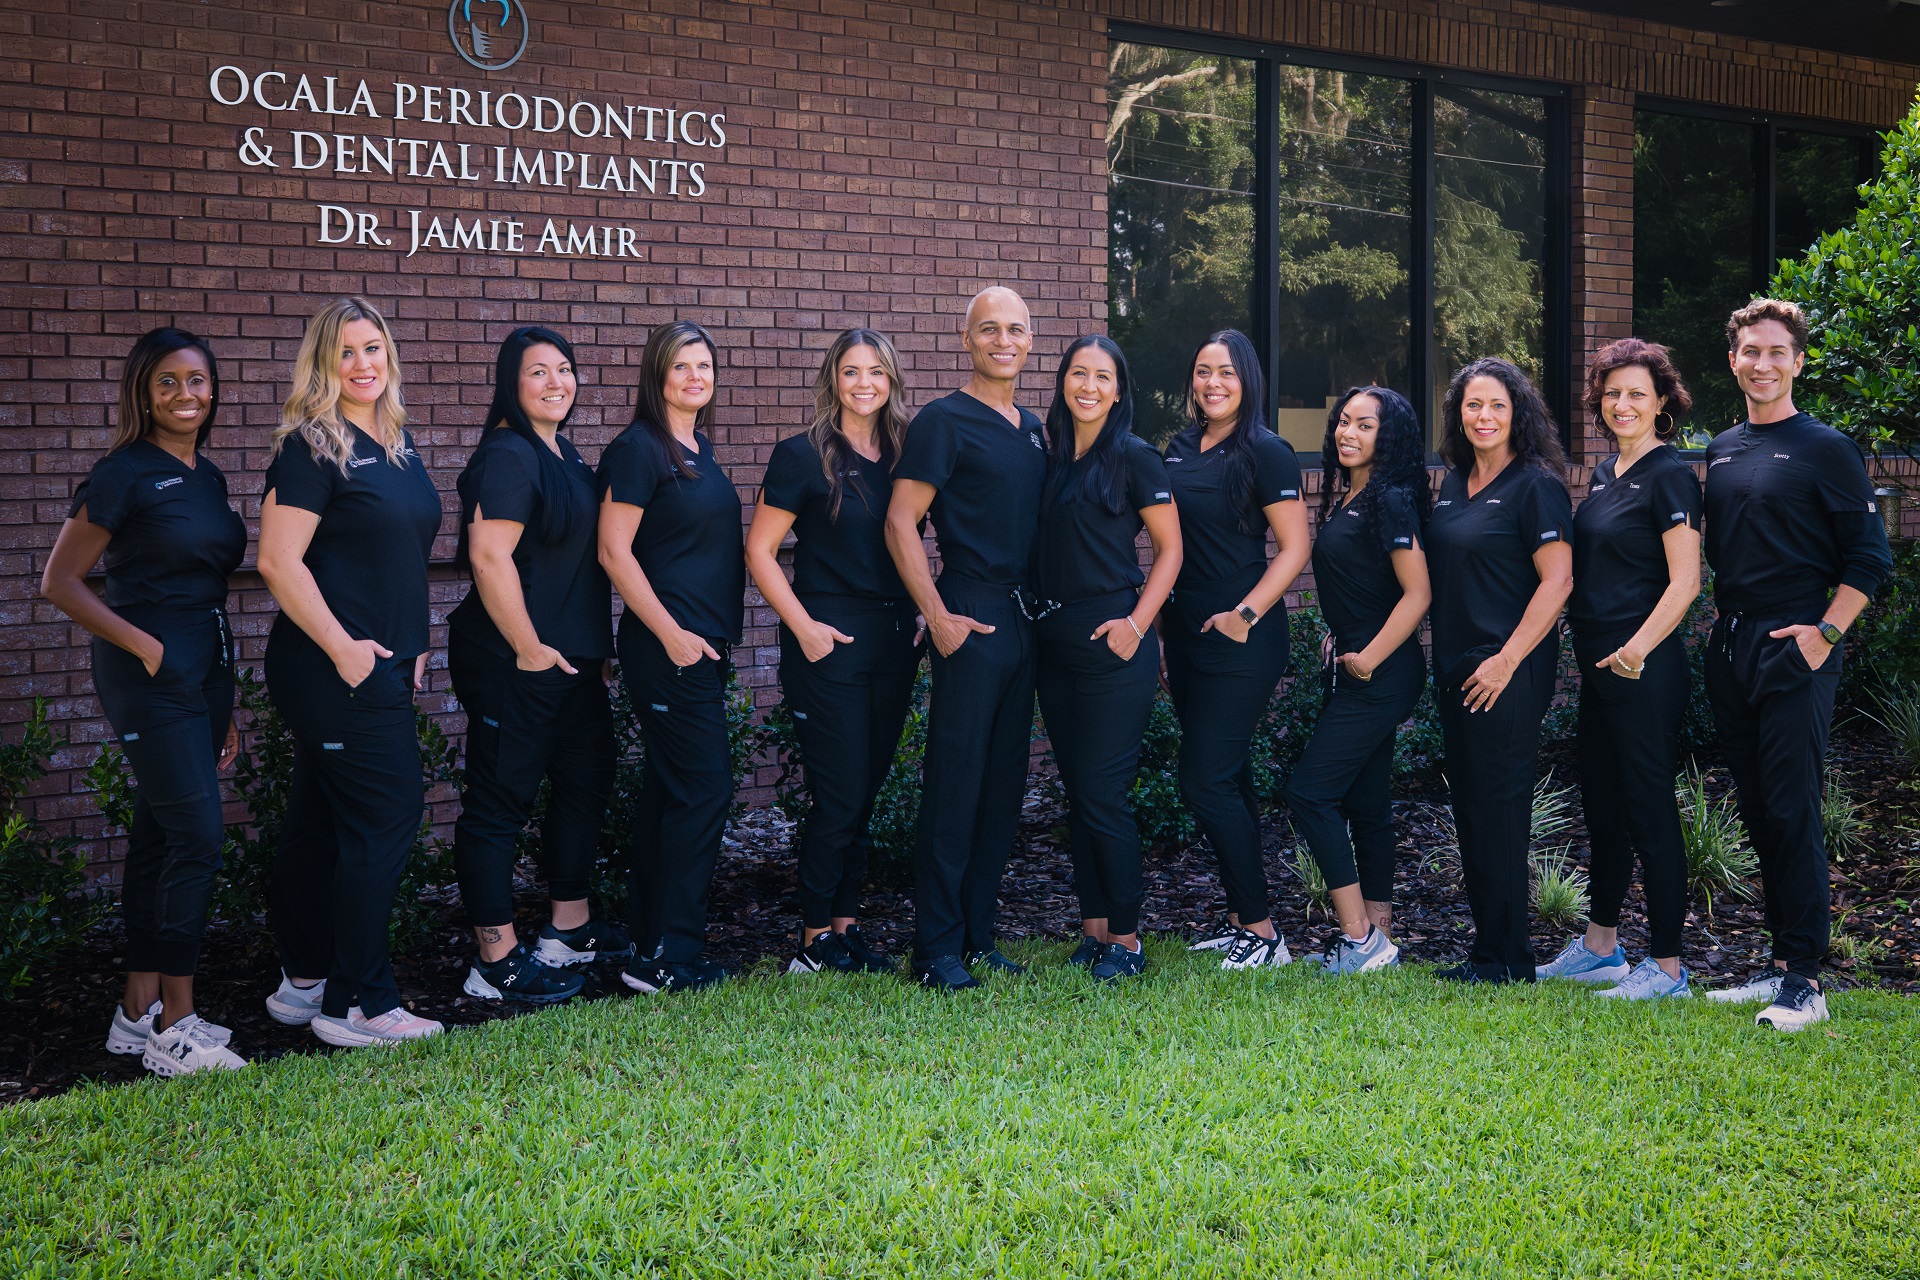
Comfortable Environment

Comfortable Environment
Dr. Jamie Amir is known for his excellent patient care, conservative treatment philosophy, clinical skill and kind demeanor. Patients feel confident in their choices due to his careful explanation of all treatment options. His state-of-the-art practice utilizes the latest technology to optimize patient outcomes and minimize patient discomfort. With several options available for reducing dental anxiety, including IV sedation and laughing gas, patients feel at ease in his practice.
Meet Your Periodontist, Dr. Jamie Amir


Dr. Jamie Amir is known for his excellent patient care, conservative treatment philosophy, clinical skill and kind demeanor. Patients feel confident in their choices due to his careful explanation of all treatment options. His state-of-the-art practice utilizes the latest technology to optimize patient outcomes and minimize patient discomfort. With several options available for reducing dental anxiety, including IV sedation and laughing gas, patients feel at ease in his practice.
Dental Implants

Dental Implants can be an excellent tooth replacement. Dr. Amir’s 5 years of additional training after dental school make him one of Ocala’s foremost experts in the field of dental implant therapy. Dr. Amir works with your dentist to provide the foundation for a natural looking tooth replacement using the latest technology and clinical techniques.
Our services include

- LANAP®
- Periodontal Plastic Surgery
- Bone Grafting
- Non-Surgical Periodontal Therapy
- CT Scans
- Biopsies
- Tooth Extractions
- Pre-prosthetic Surgery
- Laughing Gas
- Hemangioma Removal
- Periodontal Maintenance
- Digital Radiography
- IV Sedation
Dr. Amir’s Implantology training and experience:
Dr. Amir has had extensive training in the field of Dental Implantology and Periodontology, including two years spent with world renowned experts in Dental Implantology, Dr.’s William Martin, James Ruskin and Dean Morton. “I was lucky enough to be able to watch hundreds of dental implant surgeries first hand and learn all the aspects of the restoration of dental implants before ever surgically placing a dental implant myself.”
Planning implant placement:
According to Dr. Amir, he was taught a restorative driven approach, meaning that the exact position of the dental implant was calculated based on the planned position of the final tooth.
The need for gum and bone grafting:
Dr. Amir uses his expertise to establish if procedures to build up lost bone volume and gum tissue volume are needed in advance of ‘ideally positioned’ dental implants. Bone grafting prior to or at the same time of dental implant placement is used to ensure the implant is placed in the right position for the final crown or bridge. Building bone may sound like a difficult task, but it’s a routine procedure in Dr. Amir’s practice. “We have a lot of options and techniques available to create a stable foundation for our dental implants.”
Cone Beam CT Scanning:
Dr. Amir uses a high end Cone Beam CT scanner to evaluate the jaw bones in 3D prior to surgery. “I chose my CT scanner because it allows me to take a scan of the whole jaw bone if necessary, or just a small area to minimize radiation exposure. It also has an ultra-low dose setting to further reduce the dose of radiation, while still allowing for accurate evaluation of the jaw bone dimensions so I know what to expect at the time of surgery.” Dr. Amir utilizes the University Of Florida College Of Dentistry’s Dental Radiology department to provide detailed reports on each scan taken.
Providing a healthy Gum bacterial barrier around implants:
Tissue around natural teeth actually attaches to the root of the tooth, which provides a very secure barrier to bacteria when the gums are healthy. Dental implants don’t have that same ability and instead rely on the quality of the gum tissue to be firm and rigid. This is the reason that gum tissue grafting around implants is so important. “If no plan is in place to rebuild the gum tissue, you can end up with loose mucosal (inner cheek) tissue around the neck of the implant, which is a poor barrier to plaque bacteria getting under the gum around the implant.” Bacterial invasion can cause bone loss around the implant and can lead to failure. “If needed, gum tissue can be grafted before placement of the implant or after the implant has been restored.”
Working with referring doctors:
Dr. Amir utilizes a team approach to dental implant treatment and works closely with his referring dentists to ensure an optimum result for their patients. Detailed reports are sent to the referring dentist after patient consultations and treatments to ensure close communication on every case. Dr. Amir is known in the dental community for his in depth reports and attention to detail.
Pre and post-operative care:
Dr. Amir stays fully involved with his patient care at all stages of treatment. He likes to see his patients immediately after the implant restoration is completed and every year for a checkup after dental implant treatment is completed. “It is highly recommended to have a baseline evaluation after the implant treatment is complete, so that future examination results and X-rays can be compared to detect early problem signs.”
Prolonging the life of implants:
While dental implants are the closest thing dentistry has available to replacing a missing natural tooth, they are still an artificial replacement, not a real tooth. “Titanium implants are an amazing technology, but they are not without shortcomings. They have a lower success rate in smokers, diabetics, people with a history of gum disease and people who grind their teeth.” Dr. Amir stresses the importance of quitting smoking prior to treatment, as well as eating a healthy diet to ensure the best possible healing after surgery. Dr. Amir points out some other things that can affect the success of dental implant treatment. “There are many steps during the treatment process where small errors can be made that can lead to problems with the implant down the road. Overheating of bone during surgery, implants placed in the wrong position, cement trapped under the gum line when the final crown is cemented, failure to adjust the bite enough when the crown is placed, and failure to get regular cleanings and bite checks are all examples of possible problems that can lead to implant complications.”
Saving your own teeth:
As a periodontist, Dr. Amir says his primary job is to save teeth, not remove them to place implants. “There was a school of thought in implant dentistry that if a tooth had some bone loss and was a bit loose, then it should be extracted and replaced with a dental implant. This thought process is fatally flawed, as people who are prone to bone loss around teeth are prone to bone loss around implants also.” Dr. Amir helps his patients decide on what the best treatment is for them based on their particular situation. Sometimes that might mean he recommends a fixed bridge or a partial denture. “I’m very picky about who I place dental implants for, as I want my work to be as successful as it can possibly be, so my patients can leave my office happy.” Next time you consider dental implants as a treatment option, ask your dentist to refer you to Ocala’s dental implant expert, Dr. Jamie Amir.

Table of Contents:

Crown Lengthening
Gingival
Recession
Laser Assisted Periodontal Therapy
Esthetic Dental Implants
Our Location

Proudly Serving:

Marion County – Belleview, Dunnellon, Ocala, McIntosh, Reddick, Anthony, Citra, Fort McCoy, Marion Oaks, Orange Springs, Orange Lake, Salt Springs, Silver Springs Shores, Summerfield, The Villages, Weirsdale, Ocklawaha, McIntosh Citrus County – Crystal River, Inverness, Pine Ridge, Meadowcrest, Citrus Springs, Floral City, Hernando, Beverly Hills, Homosassa, Homosassa Springs, Lecanto Alachua County – Micanopy, Gainesville, Alachua, Archer, Hawthorne, High Springs, LaCrosse, Newberry, Waldo

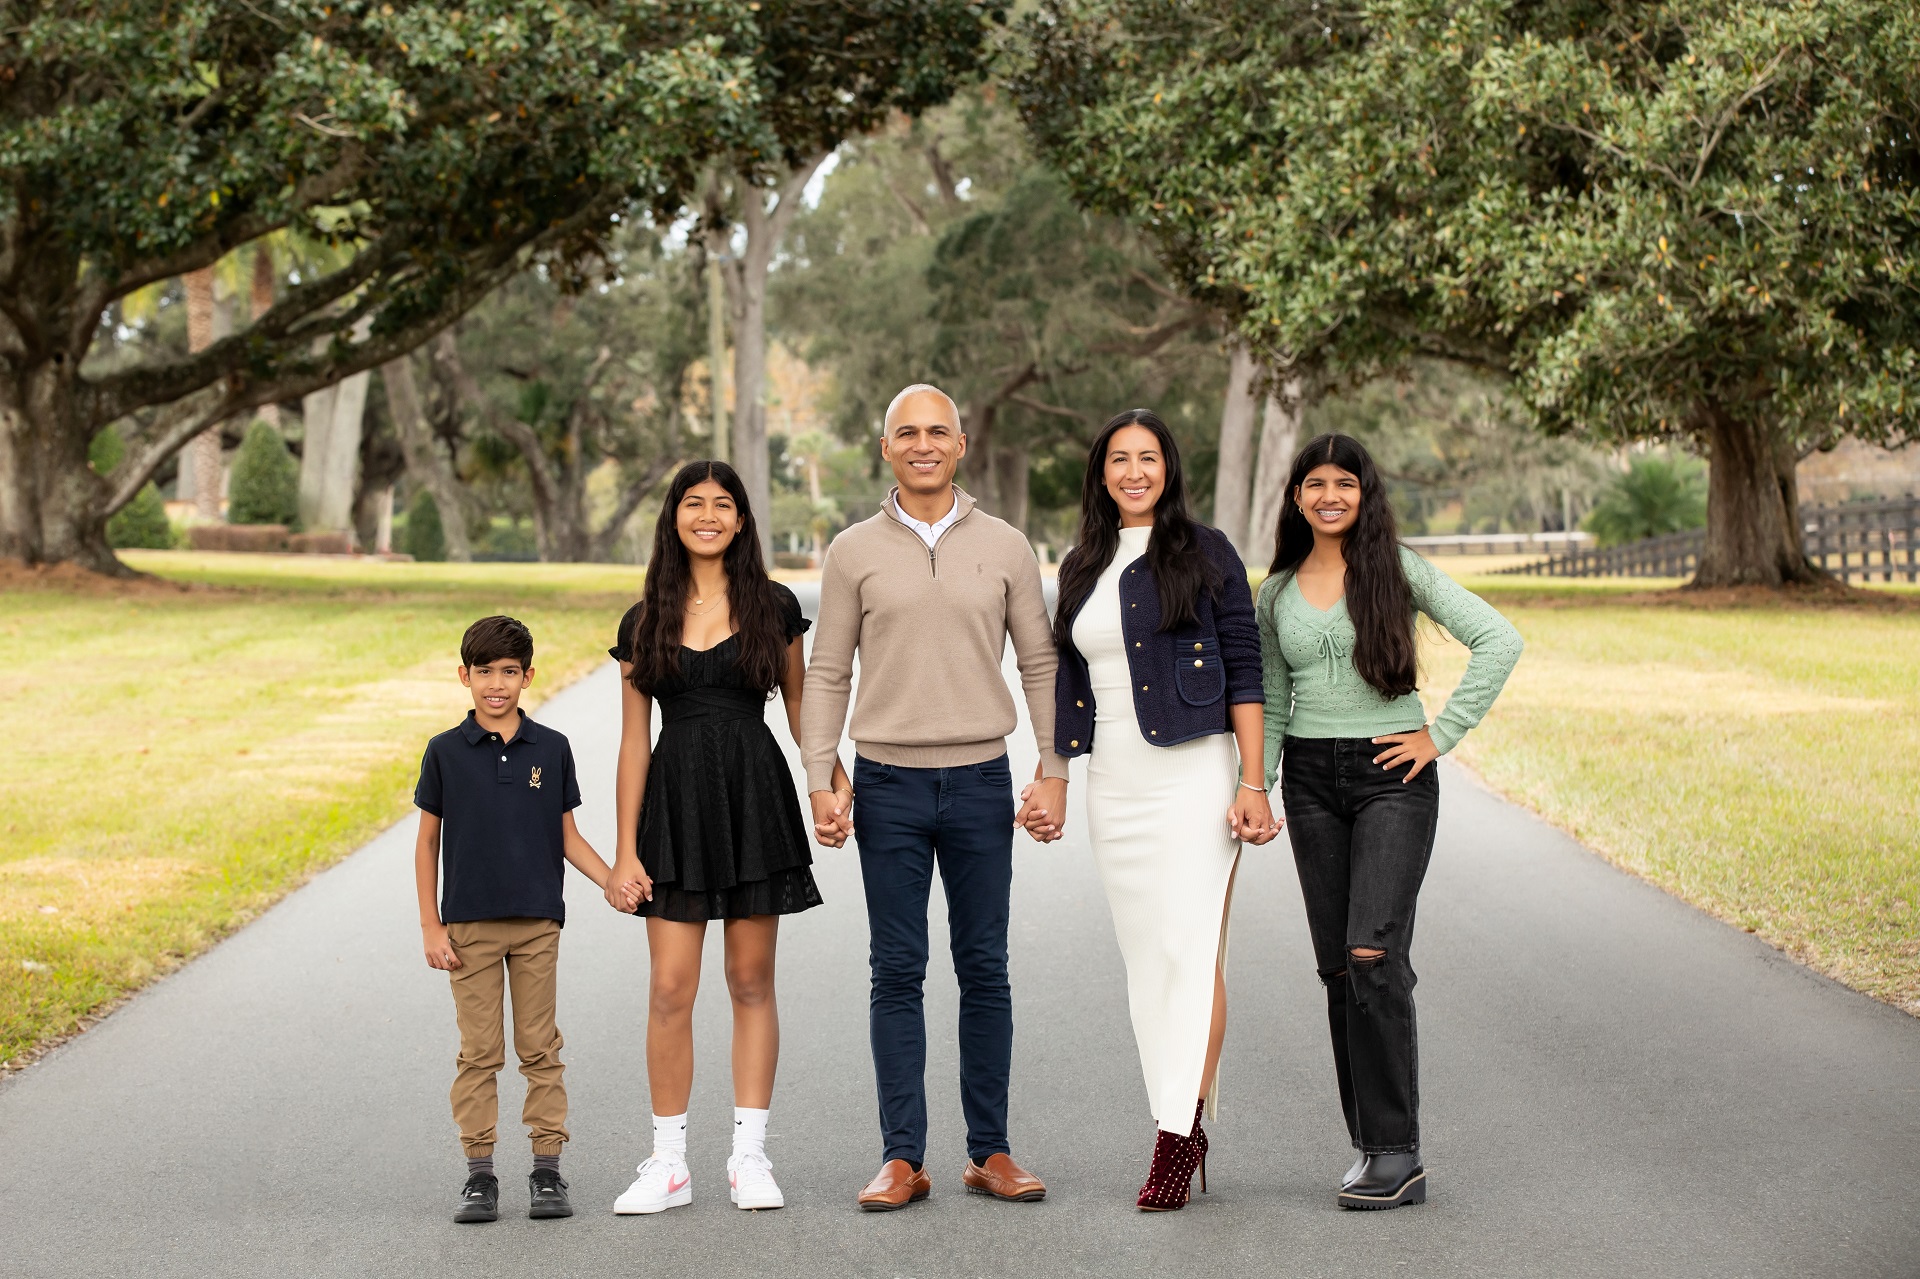
We Love Our Patients!
THANK YOU
for being a part of
OUR FAMILY!

